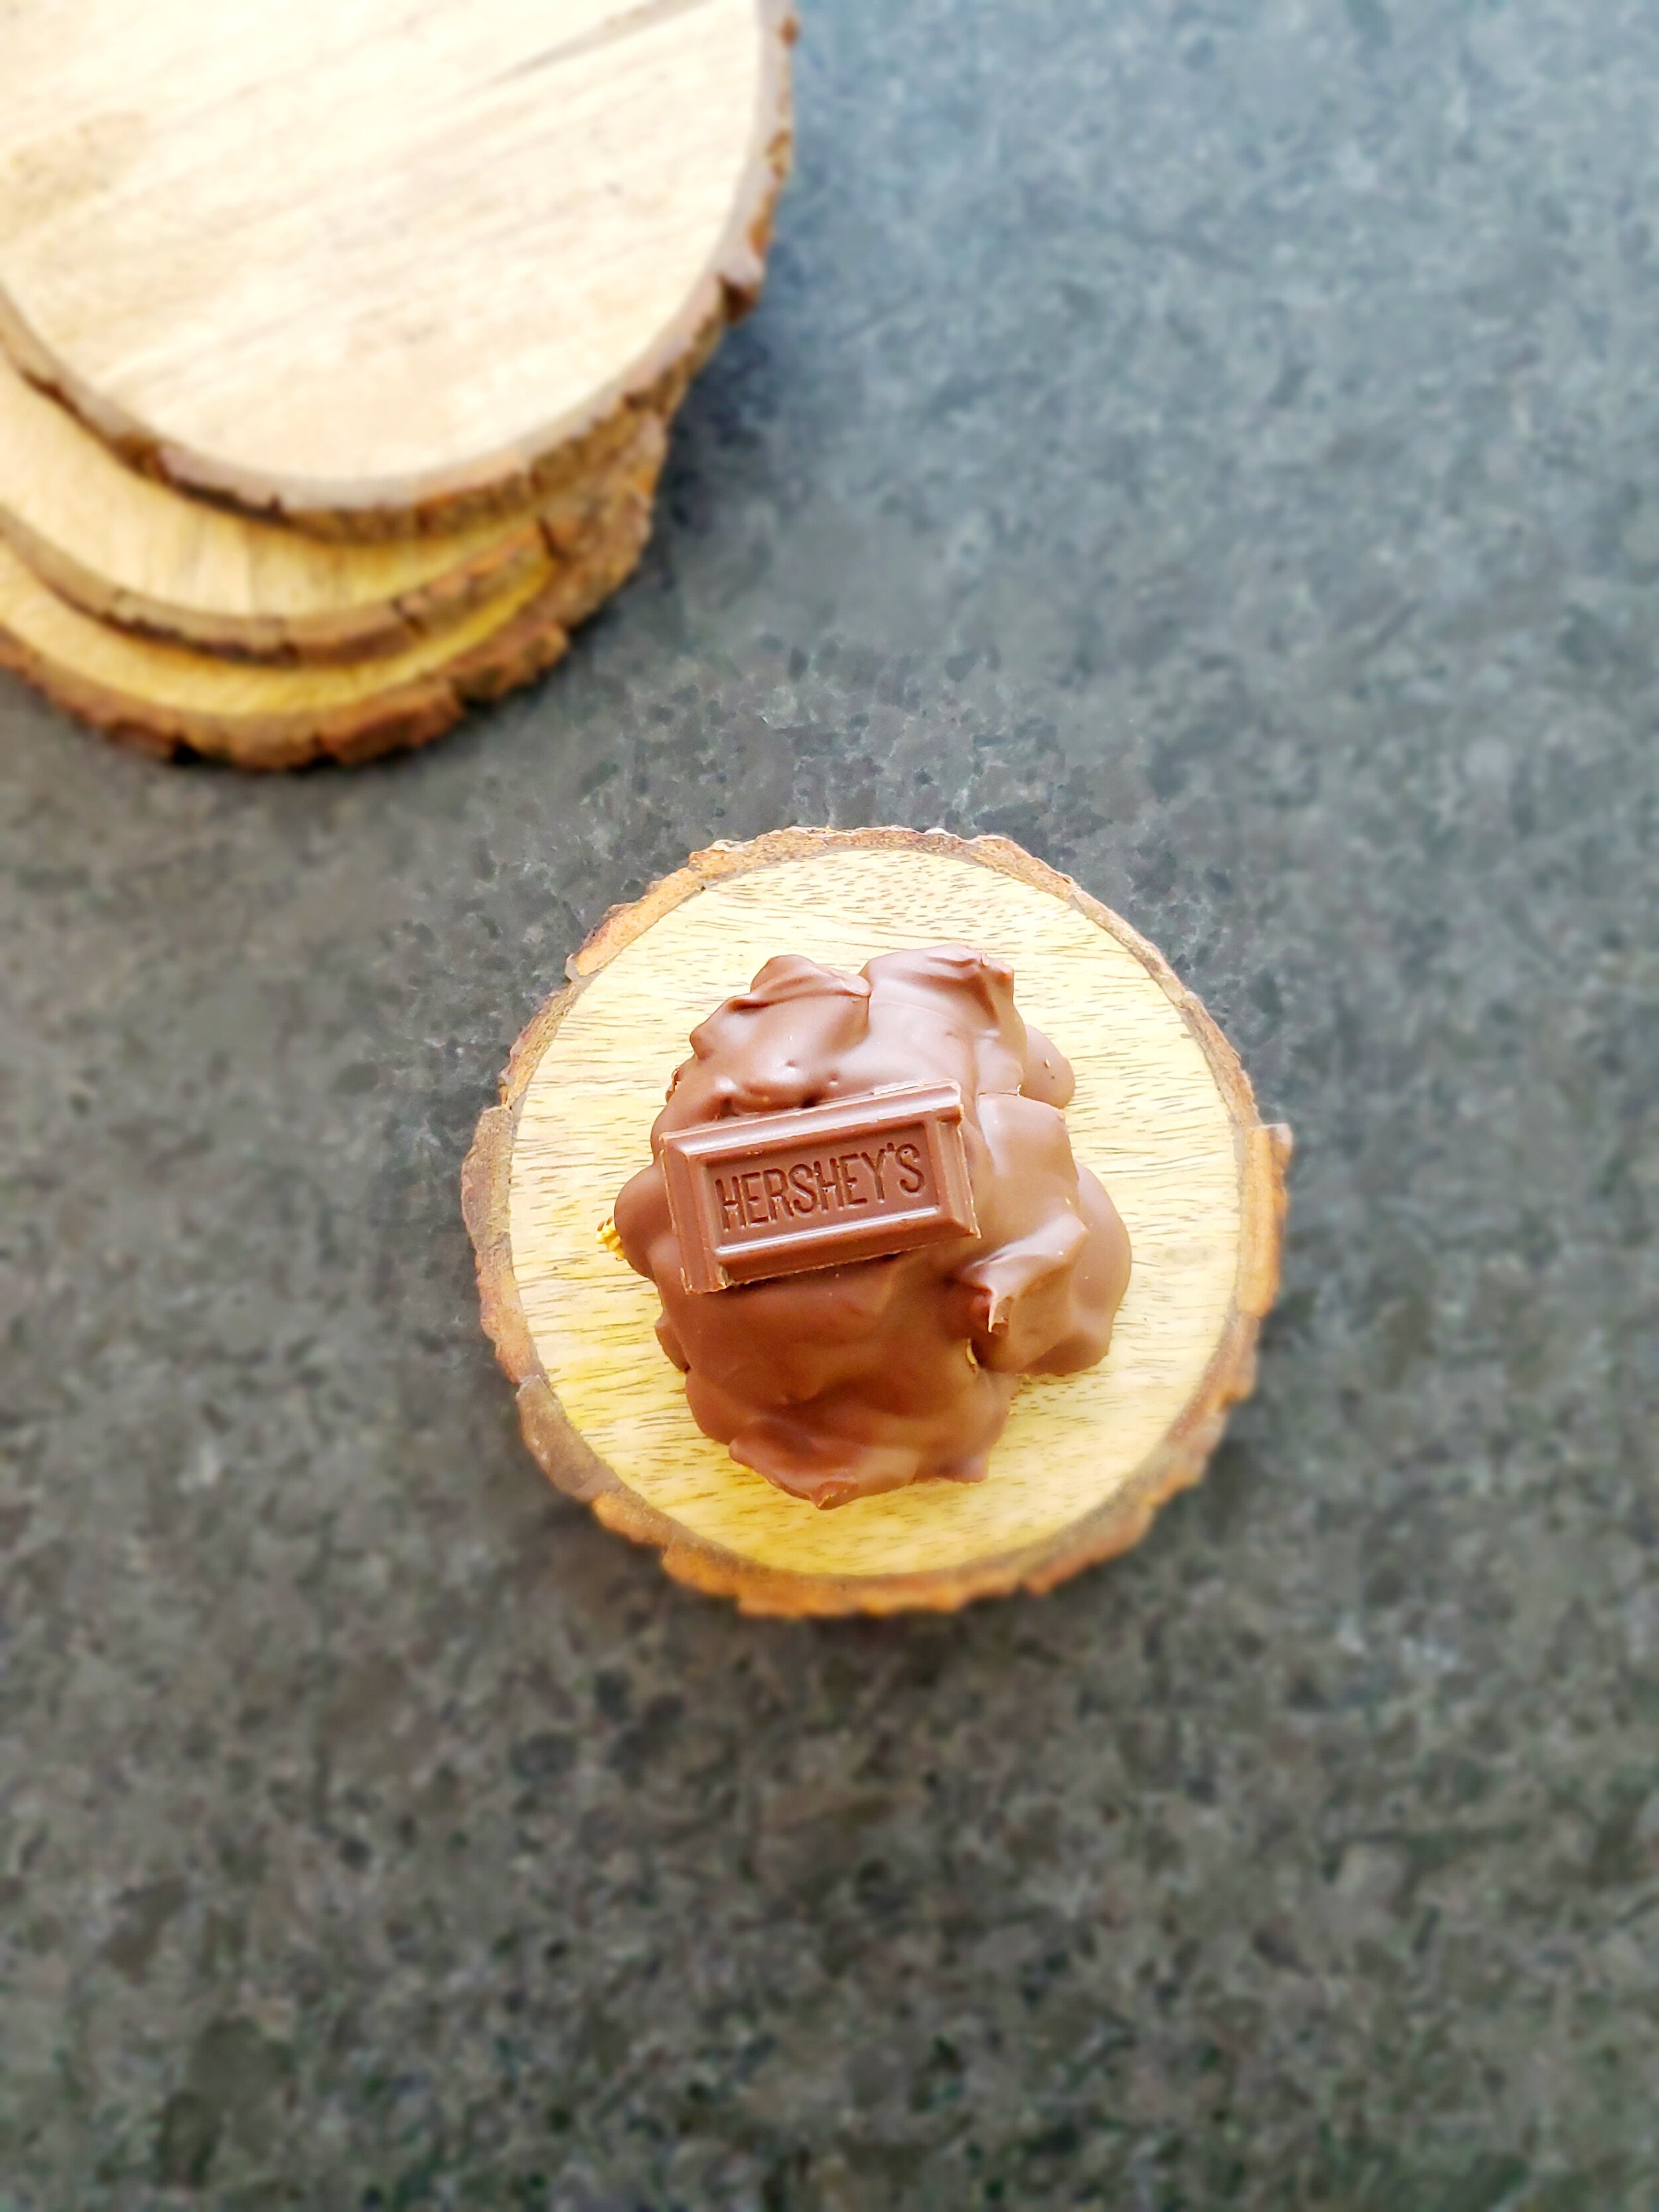
S'mores Clusters
There's nothing like the combination of s'mores! The nostalgic flavors take you right back to childhood summers spent camping or crisp fall nights when you only want to light up the grill and nothing else will fit the bill except for s’mores.
S’mores is such a fun flavor to recreate in many different forms like brownies, cakes and snack mixes. When we grill, I usually try to wrap a few tin foil packages of graham crackers, chocolate and marshmallows together. Once the grill is turned off, we leave the packages on for 15 minutes, until everything just comes together and melts. It’s straight up yum!
This time around, I wanted to create a straightforward no bake treat. One that you can build either in the middle of the summer or even a snow day activity. I also wanted it to be easy for little helpers to join in, because it’s more fun that way.
Chock full of pantry items you probably already have, this is totally for chocolate lovers. The S’mores Clusters tastes rich and satisfying, and anything but simple. It balances the sweet marshmallows with a crunchy graham element and a blend of chocolate.
To make the S’mores Clusters prepare two rimmed baking sheets with parchment paper. Place the marshmallows in a glass bowl and microwave to gently soften. Make sure the marshmallows are sticky but still solid, not melted. To construct the treats, scoop the softened marshmallows onto the prepared baking sheet. If you have a kitchen torch, carefully toast the marshmallows for a few minutes. Place mini chocolate chips on each treat, followed by the cereal squares.
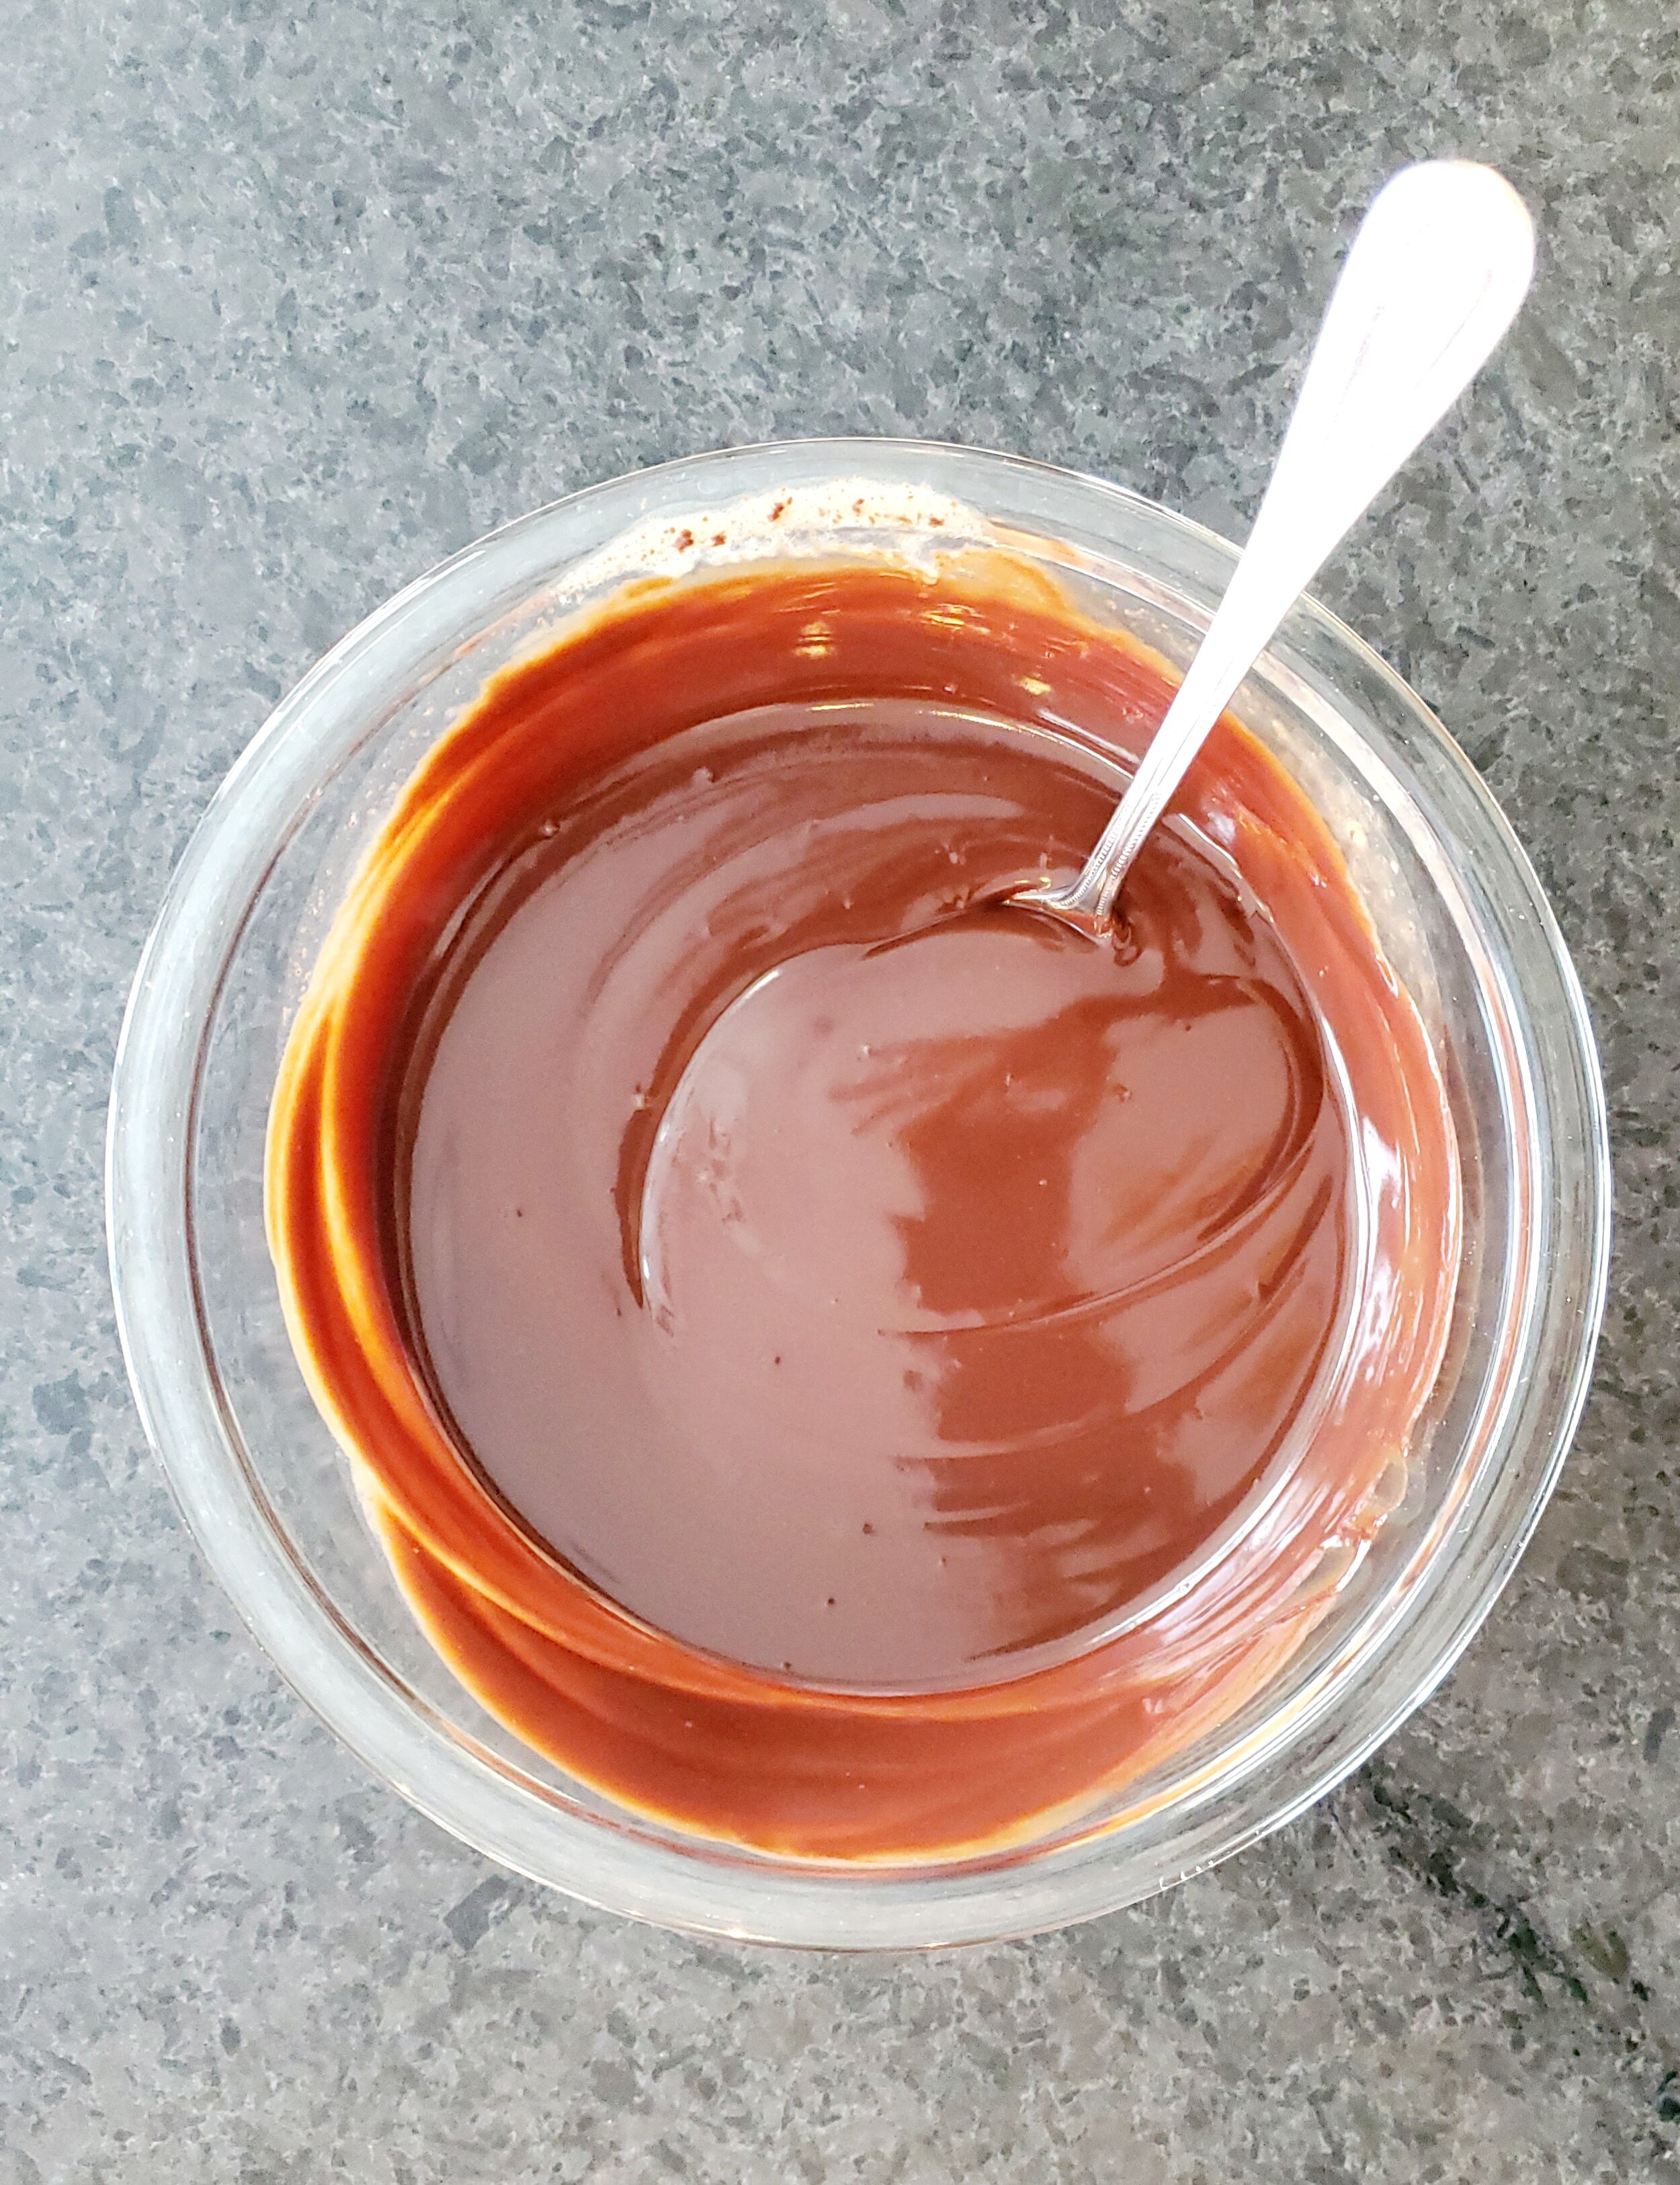
For the decoration, melt the chocolate bars or chocolate melting wafers (see notes on melting chocolate!). Spoon the melted chocolate over the treats. For a "rustic" look, allow some of the marshmallow or grahams to stick out, and for a "cleaner " look, cover the treats completely. With the remaining chocolate bars, carefully break apart the rectangular pieces so they are bite sized. Top the treats with the pieces to decorate.
To fully set, cool the S’mores Clusters at room temperature for 1-2 hours then overnight in the freezer or refrigerator.
The S’mores Clusters are best made ahead of time. They are portable and adaptable, too. Easy for beginner bakers.

S'mores Clusters
Ingredients:
- 1 bag of mini marshmallows
- 1 cup of graham cracker square cereal
- 1 cup of semi-sweet mini chocolate chips
- 10 chocolate candy bars, 1.55-oz. (milk or dark chocolate; typically sold in a 6 pack; a combination of the two is preferred) or a 10oz. bag of chocolate melting wafers (milk or dark chocolate)
- Two chocolate candy bars, 1.55-oz. (milk or dark chocolate) or a bag of miniature chocolate bar candy, 10.4 oz.
Instructions:
- Clusters- Line two rimmed baking sheets with parchment paper. Place the marshmallows in a glass bowl and microwave on medium heat for 10 seconds to gently soften. Make sure the marshmallows are sticky but still solid, not melted. To construct the treats, scoop approximately 24 mounds of the softened marshmallows onto the prepared baking sheet using an ice cream scoop. Place a half teaspoon of mini chocolate chips on each treat, followed by 4-5 cereal squares. Gently squeeze with your hand to help hold the clusters together. If you have a kitchen torch, carefully toast the marshmallows for a few minutes. Place a half teaspoon of mini chocolate chips on each treat, followed by 4-5 cereal squares. Gently squeeze with your hand to help hold the clusters together.
- Decoration- In a large glass bowl, melt 10 chocolate bars or the bag of chocolate melting wafers (see notes on melting chocolate). Spoon the melted chocolate over the treats. For a "rustic" look, allow some of the marshmallow or grahams to stick out, and for a "cleaner " look, cover the treats completely. With the remaining chocolate bars, carefully break apart the rectangular pieces so they are bite sized. Top the treats with the pieces to decorate.
- To fully set, cool the S’mores Clusters at room temperature for 1-2 hours then overnight in the freezer or refrigerator.
Notes:
VISIT US ON INSTAGRAM @EXPANDKITCHENANDHOME AND TAG US #EXPANDKITCHENANDHOME


